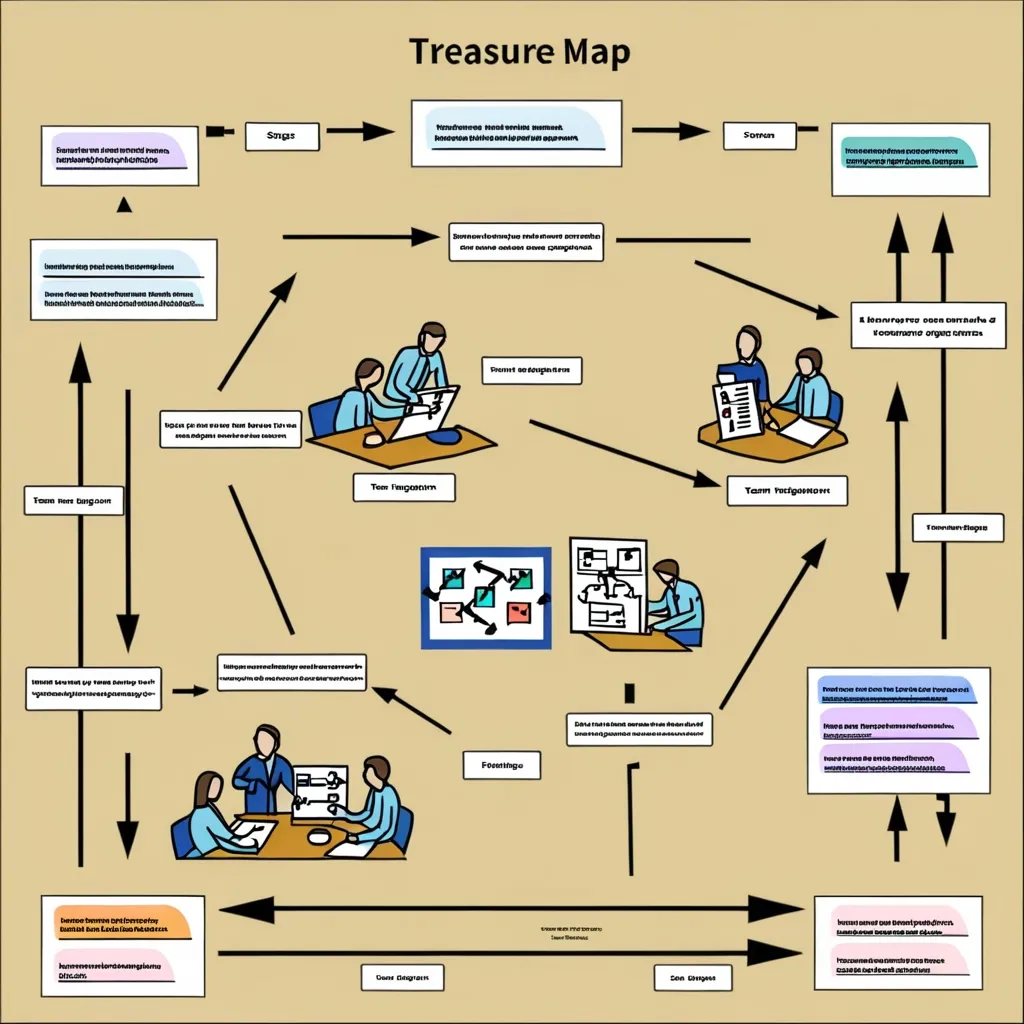
Documenting workflows is kind of like creating a treasure map for your workplace. It makes sure everyone knows what they’re worth, how to get their tasks done efficiently, and where all the hidden gems (or problems) might be. Here’s a walkthrough to understand and nail workflow documentation without turning it into a snooze fest.
Grasping the Value of Workflow Documentation
Think of workflow documentation as your team’s playbook. It’s not just a list of things to do; it’s a detailed guide that spells out every task, who’s responsible, and the resources needed. It’s like giving everyone the same sheet music to avoid any discord. And yes, it helps spot where things might slow down or where tweaks are needed, making your team play in perfect harmony.
Planning Like a Pro
Start by laying down a solid plan. Decide the process you’re about to document—be it welcoming a new client, launching a snazzy marketing campaign, or building the next big software. Pull in the experts, chat with the key players, and jot down everything they say. This is your foundational sketch, and you want it to be rock solid before you go Michelangelo on it.
While planning, nail down the goals, the timeline, and how crucial each step is. It’s like planning a road trip but with fewer gas stops. Everyone should know the destination and the best route to get there.
Drawing Your Map
With a clear goal in mind, it’s time to break down the process into bite-sized tasks and list them chronologically. Don’t skip even the tiniest steps—they could turn into stumbling blocks if ignored. Also, think about decision points and possible detours. Having these mapped out keeps everyone on track no matter what curveballs come their way.
Visuals are your best friends here. Use flowcharts or diagrams to make these steps crystal clear. It’s like crafting a picture book of your process—more engaging and less tedious.
Who Does What?
Each step needs an owner. Assign every task to an individual or a team. This injects clarity and responsibility into the mix. When people know exactly what’s expected, things move smoother. Include deadlines and deliverables for each task to keep everything on track.
Keeping it Simple
Your workflow documentation should be as easy to understand as a well-written children’s book. Avoid jargon and tech talk that could confuse more than clarify. Think plain and simple. Use screenshots or examples wherever necessary to make everything super clear.
Rigorous Reviews
Once your documentation is ready, give it a thorough review. This is where fresh eyes come in handy. Editors and experts should scrutinize for any mistakes. Regular reviews ensure accuracy and reliability, boosting everyone’s confidence in the process.
Iterate and Improve
Workflows aren’t set in stone. They evolve. Be ready to update and tweak your documentation as your processes change. Keeping your docs dynamic helps them stay relevant and efficient, reflecting the latest and greatest ways to get things done.
Sharing Knowledge
Make sure your documented workflows are easily accessible. Use shared tools or a central archive so everyone knows where to find them. This way, the team stays synchronized, and everyone can refer back to the official guide as needed.
Visualizing the Process
Visual aids like flowcharts are game-changers in workflow documentation. They offer a quick, easy-to-digest view of the process. A good diagram will show the steps, inputs, outputs, shared docs, and who’s doing what. This holistic view helps spot bottlenecks and areas begging for improvement.
A Peek at a Workflow Diagram
Imagine you’re plotting out your new employee onboarding. Your diagram might flow something like this:
- Initial Contact: HR shoots an email to the newbie with all the onboarding deets.
- Pre-Onboarding Tasks: The new hire fills out paperwork and skims through company policies.
- First Day: HR welcomes the newbie, gives them a tour.
- Training Sessions: The newbie attends training with the team.
- Feedback and Follow-Up: HR checks in for feedback and makes sure everything’s running smoothly.
Each step is depicted visually, with arrows showing the flow. You might use swim lanes to group tasks by team or individual. It’s all very intuitive.
Why Bother Documenting?
Workflow documentation aligns your team, clearing up confusion and reducing errors. It streamlines processes so tasks get done quickly and correctly. Plus, it uncovers areas needing improvement, leading to more refined processes over time.
Putting It to the Test
Implement your new workflow and test it with your team. Encourage feedback and keep an eye out for any hiccups. This testing phase is crucial for spotting what works and what doesn’t, allowing you to make adjustments before rolling it out officially.
Team Training
Finally, get your team up to speed with the new workflow. Make sure everyone knows their roles and responsibilities. Provide detailed resources for each task and point to your knowledge base for any essential info.
By following these steps, you craft effective workflow documentation that cuts down on repetition and boosts efficiency. Keep it updated, accessible, and embrace the tweaks as they come to ensure smooth sailing for your organization.


